If you have ever installed a Lycoming mechanical fuel pump in a confined engine bay, you understand the challenge. If you have not, consider yourself fortunate. This tool/concept was originally developed by Dave Howe, I have modified it with additional features.
Instructions for mechanical fuel pump installation:
1. Ensure the mags/ignitions/battery are off. Rotate the prop to a position which allows for the fuel pump plunger rod (inside the accessory case) to reach the apex of its travel. You can verify by pushing the rod up with your finger(s). This ensures the rod will be as high as possible and provides the most “clearance” during fuel pump installation.
2. Attach a string to the tool as shown, tie the other end of the string to the rubber band. This ensures you can retrieve the tool or rubber band if dropped.
3. Place the rubber band on the tool’s arms as shown, this provides the correct distance/geometry inside the accessory case to facilitate rod capture.
4. Place a new fuel pump gasket on the accessory case and hold it in place.
5. Insert the rubber band/tool into the mechanical fuel pump hole. The goal is to position the rod inside the rubber band loop. Place the tool at the bottom of the accessory case hole. Center the tool laterally. Ensure the “T” portion of the tool contacts the mounting surface.
6. While keeping the tool laterally centered and contacting the mounting face, move the tool up as high as possible to capture the rod.
7. While holding the string or rubber band, pull the tool out. At this point the rod should be captured.
8. Stretch the rubber band tight and secure the rubber band (or string) to a point on the engine bay which is higher than the rod. The goal is to apply just enough tension to the rubber band to hold the rod up.
9. Using your finger(s), push the rod up as far as possible.
10. Install the mechanical fuel pump according to OEM instructions. Remove the rubber band before final installation by sliding it off the rod (if possible) or by cutting the rubber band.
Works on most Lycoming accessory cases on 320, 360 and 540 engines.
Made out of PLA.
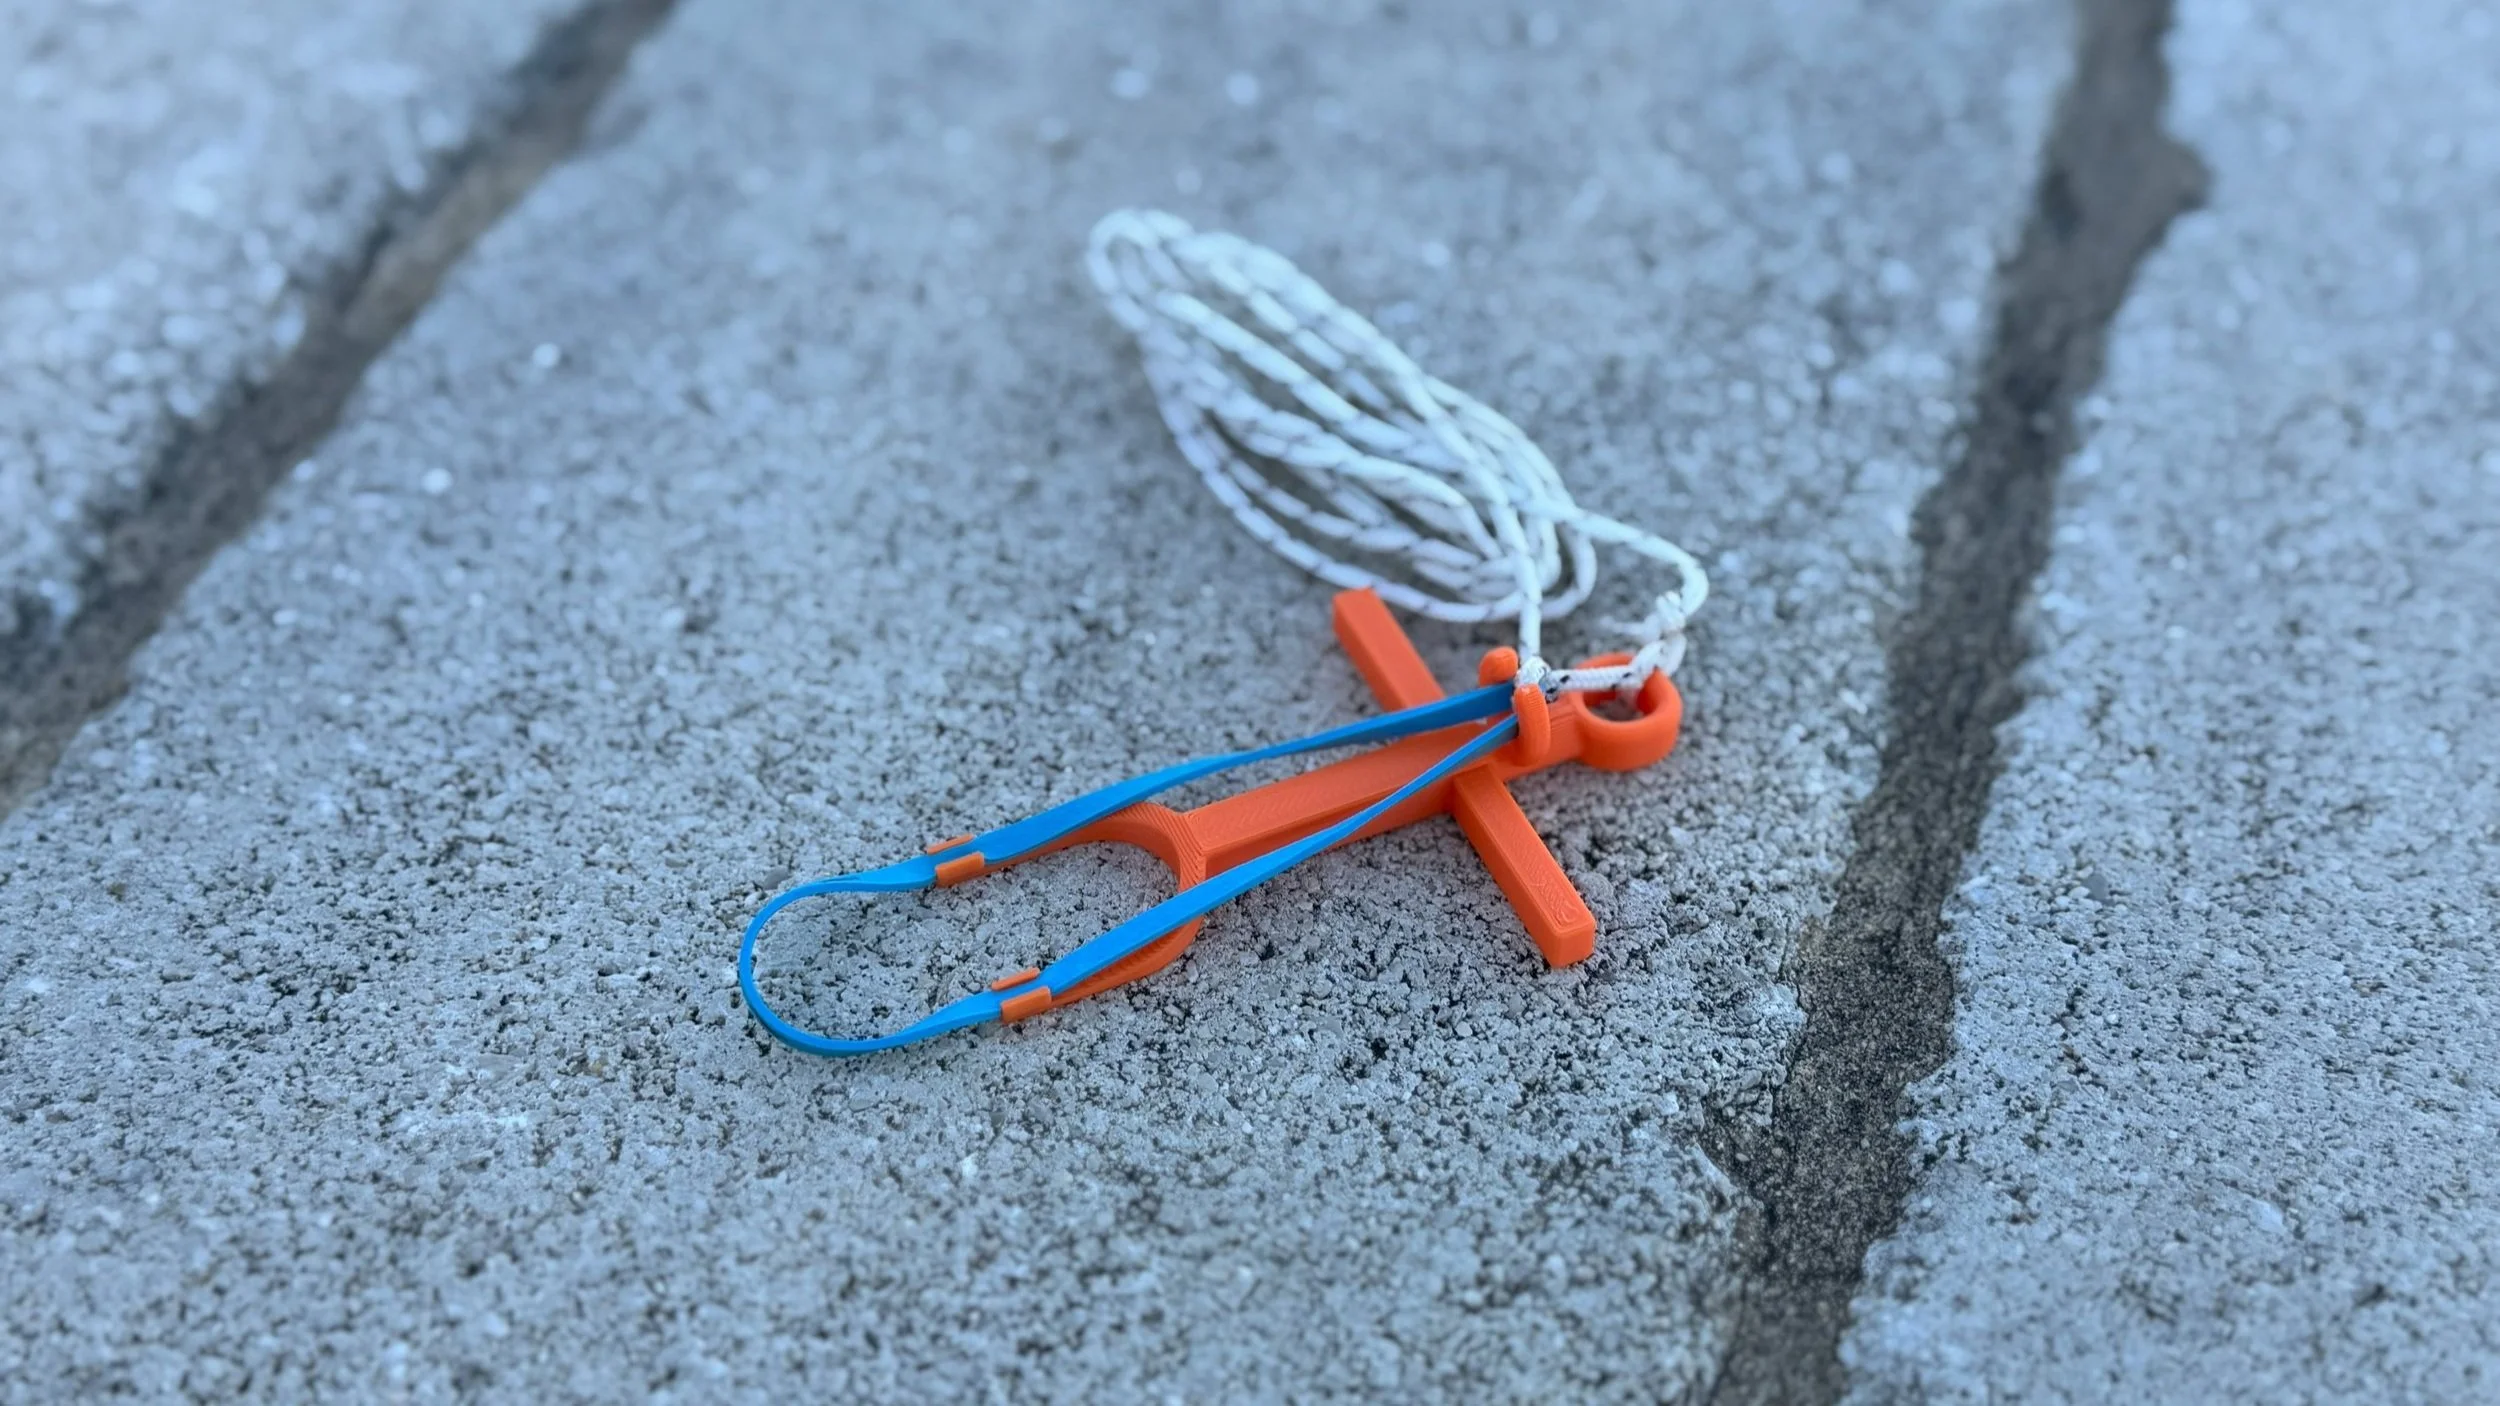 Image 1 of 5
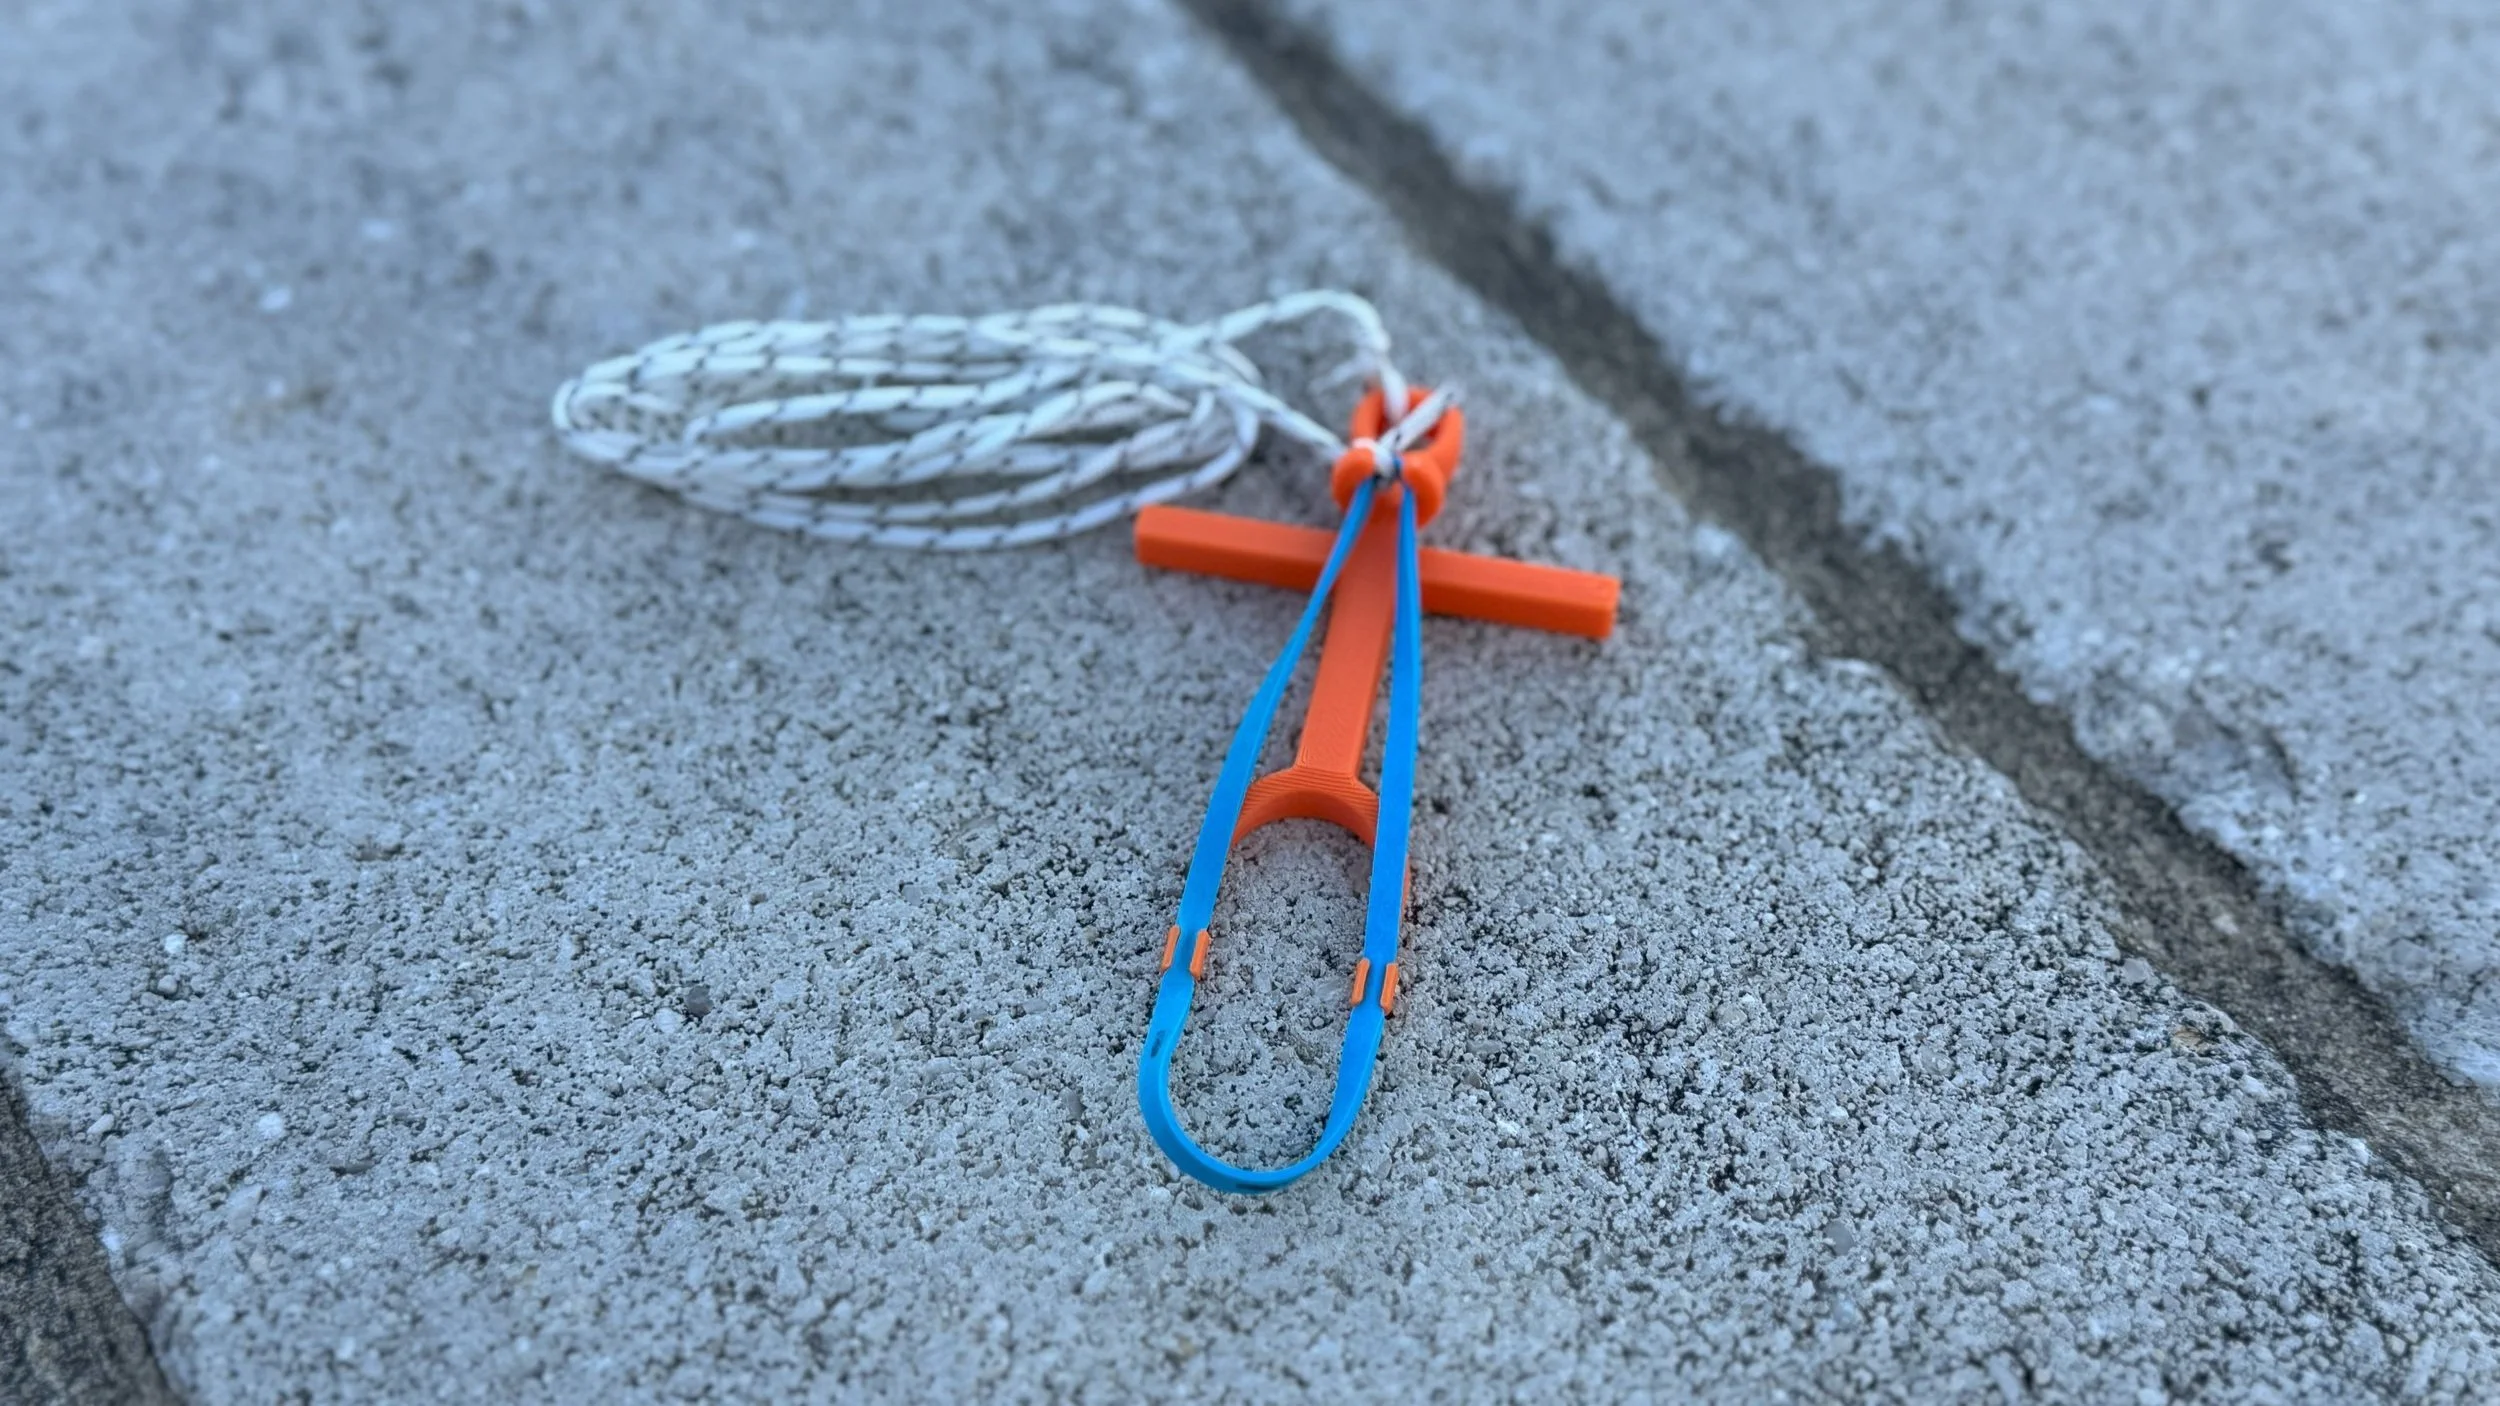 Image 2 of 5
 Image 3 of 5
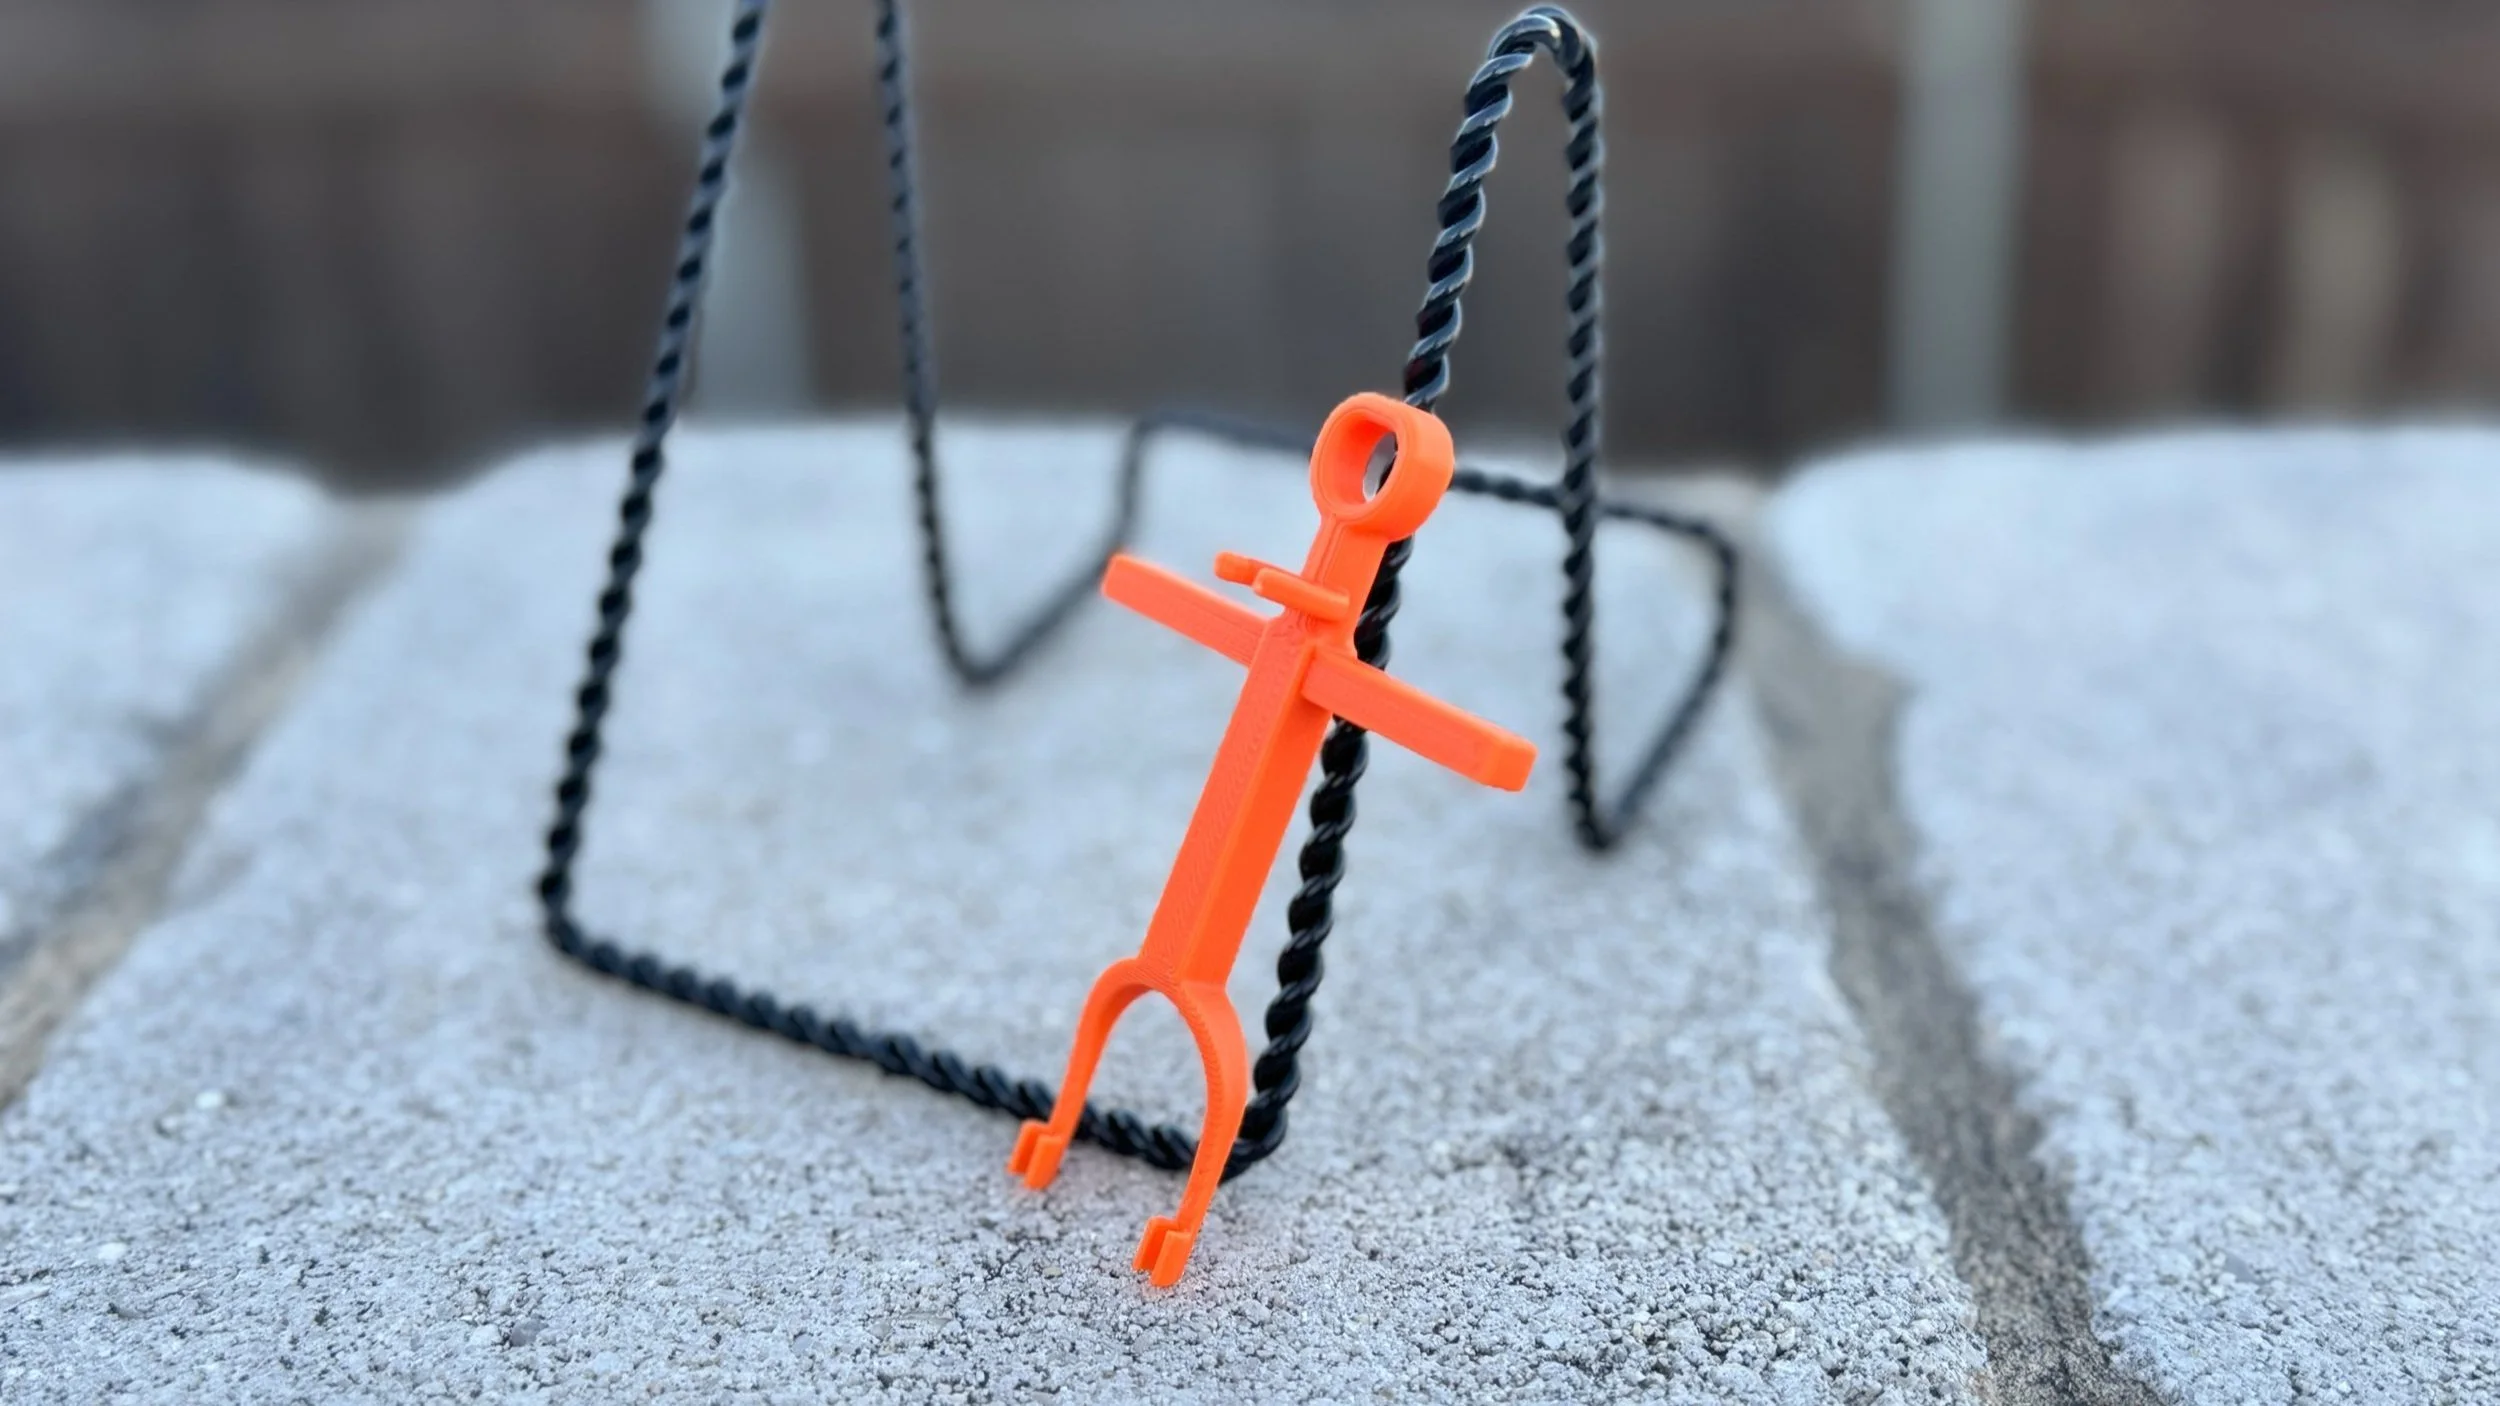 Image 4 of 5
 Image 5 of 5